In 2022, Twitter unveiled a new feature that allows users to use a non-fungible token (NFT) as their profile picture. Available only to subscribers of Twitter Blue, this feature has generated a lot of buzz among crypto enthusiasts. However, using an NFT as your profile picture is not as simple as it may seem. There are several steps involved in the process, and users need to be familiar with NFTs and digital wallets to take advantage of this new feature.
To use an NFT as your Twitter profile picture, you’ll need to follow these 7 steps:
1) Find or create an image in JPG format that you want to use as your NFT profile picture. I recommend using a square image that is at least 400×400 pixels in size. Avoid using a white background, as Twitter’s hexagon style for displaying NFT images may not be visible with a white background. Instead, choose a background that complements the colors of your NFT artwork.

2) If you don’t already have one, create a digital wallet and transfer some cryptocurrency to it. I recommend using MetaMask with Ethereum purchased from a reputable exchange such as Binance, Kraken, or Coinbase. For added security, consider using a hardware wallet like Ledger. You’ll need approximately 0.05 ETH in your wallet to cover the transaction fees associated with minting your NFT profile picture.
3) Create a collection for your NFT profile picture on a reliable NFT marketplace. I recommend using Rarible instead of OpenSea, as OpenSea currently uses the ERC-1155 standard for NFTs (free minting), which is not compatible with Twitter’s NFT profile picture feature. Rarible allows for easy minting of ERC-721 NFTs, which are the required standard for Twitter profile pictures. Note that minting an NFT requires paying a fee, so be prepared to spend some cryptocurrency to get your NFT picture onto the blockchain.
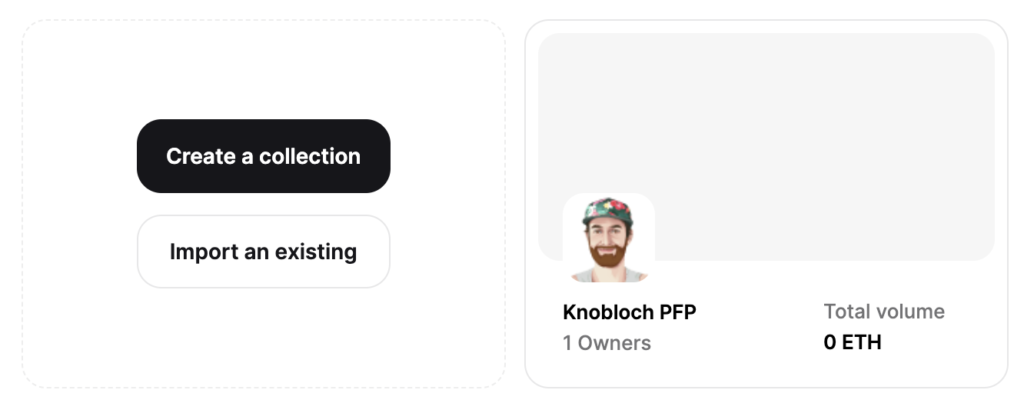
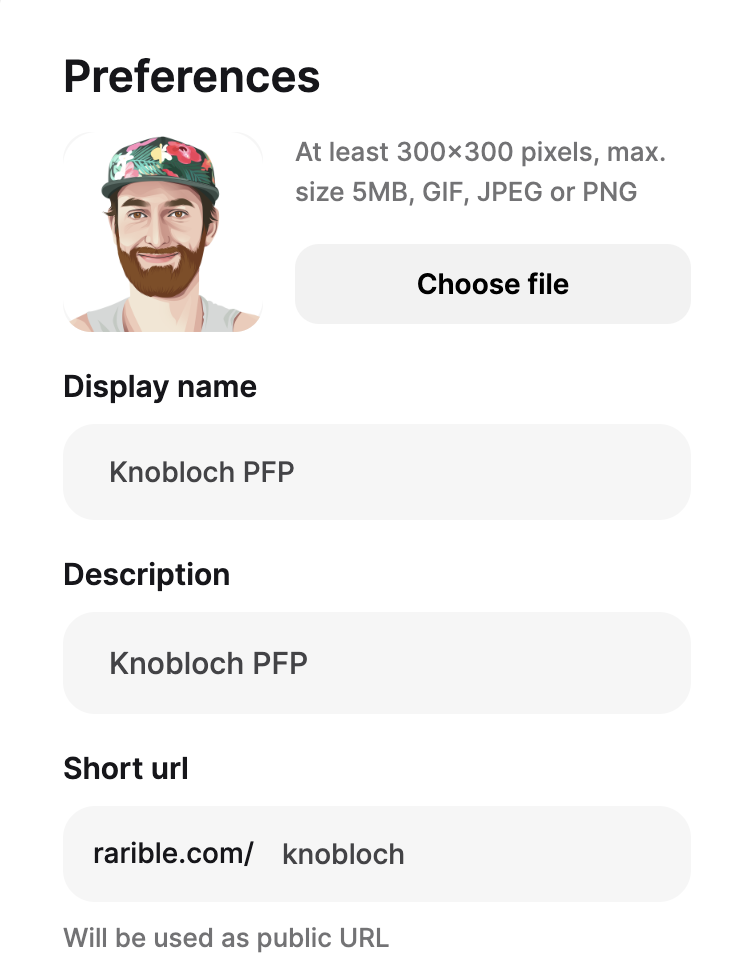
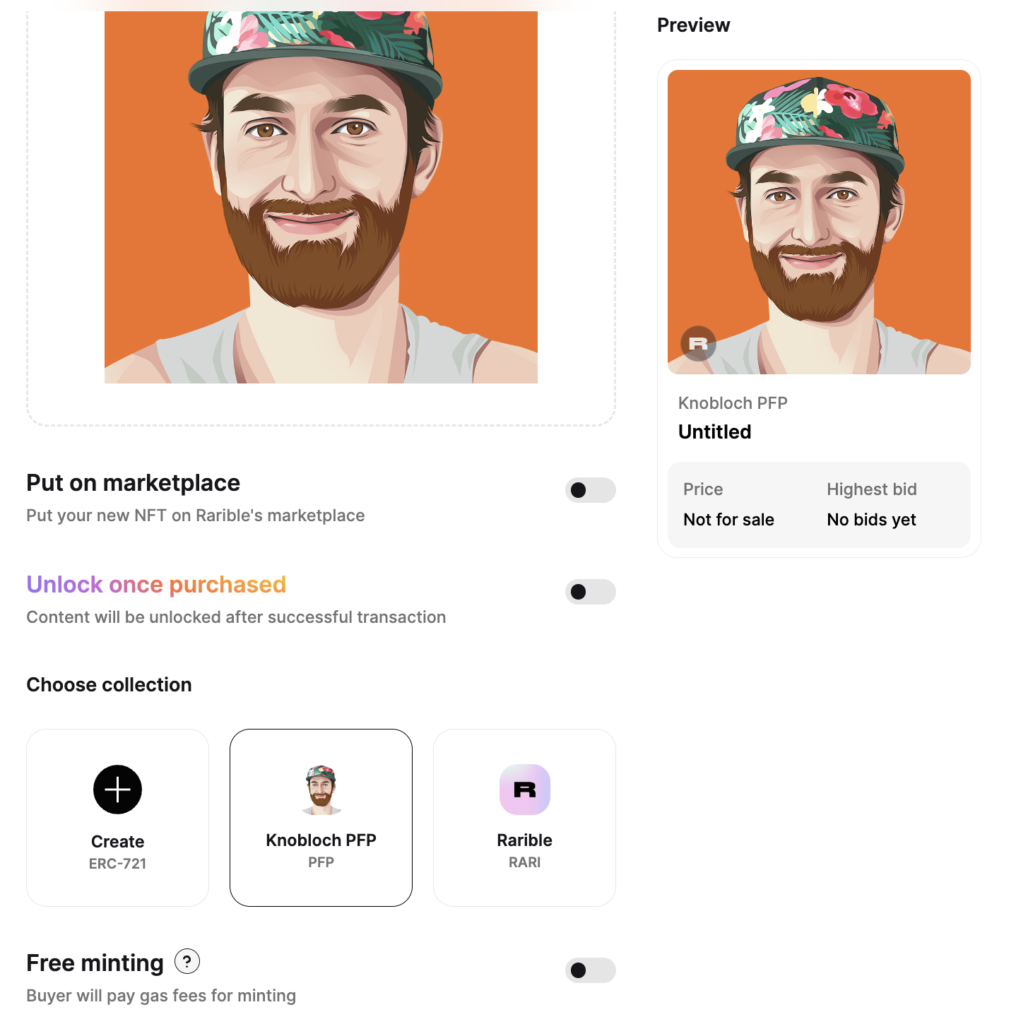
4) Once your collection is created, it’s time to mint your NFT profile picture. Choose the “Single” option to ensure that your NFT is unique and exclusively for you. Do not list it on Rarible’s marketplace, as this NFT is meant solely for your personal use. Deactivate the “Free Minting” option to mint it for real. Provide a name and a description for your NFT, pay the necessary gas fees, and mint your NFT profile picture!
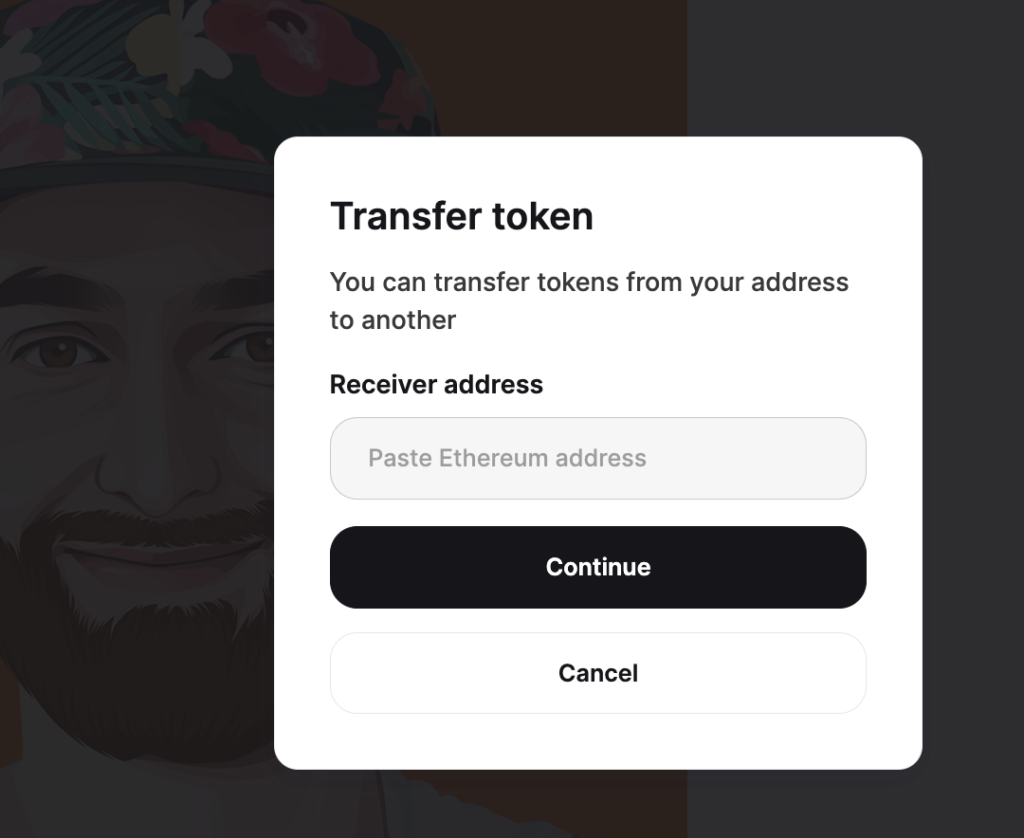
5) Note that there is an issue with Twitter where newly created NFT profile pictures may not appear on the platform immediately. To work around this issue, you can transfer your newly minted NFT to your digital wallet. Simply click on the “Transfer” button and paste in your wallet address. Pay the required gas fees to complete the transfer. So are transferring from your wallet to your wallet…
6) If you use MetaMask on your desktop, we recommend installing it on your mobile device as well. This will allow you to easily access your digital wallet and NFT collection on the go. To connect your MetaMask account on your mobile device, simply use your Secret Recovery Phrase. You can find this in the settings menu under “Security”.
7) On the Twitter mobile app (unfortunately, this feature is not available on the desktop version), edit your profile picture and connect your digital wallet through the MetaMask app. From there, select your newly minted NFT profile picture from your collection, save the changes, and you’re all set!

That’s all! You’re all set with your new NFT profile picture. However, please note that it may take some time for Twitter to review your profile and reinstate the blue verification checkmark. This process typically takes around two weeks. In the meantime, you can enjoy your unique and personalized NFT profile picture on your Twitter account.


Thanks, will try ERC-721 NFTs with OpenSea
You’re welcome!